Short answer
Seed starting trays are shallow cell trays or flats used to germinate seeds and raise seedlings until transplant. Most use the 1020 footprint of about 27 × 54 cm, with plug trays of 50 to 288 cells. Lettuce typically germinates best near 24°C (75°F), tomatoes and peppers near 29°C (85°F), and cucumbers near 35°C (95°F), with seedlings then grown cooler under 14 to 16 hours of light.
What are seed starting trays?
Seed starting trays are shallow plastic or fiber containers, usually divided into cells, that hold growing medium for germinating seeds and raising seedlings until transplant. Most follow the North American 1020 footprint of about 27 × 54 cm (10.5 × 21 in), so flats, cell inserts, plug trays and humidity domes stack and fit on the same benches, shelves and carts.
For commercial growers, the tray is only one part of a seed starting system that also includes the right medium, temperature, moisture, light and watering method. This guide covers the main types of seedling trays, how to choose cell size by crop, a seed germination temperature chart, a step-by-step method for germinating seeds indoors, and how propagation scales from a seed starting shelf with lights to tidal benches and seedling cabinets. If you grow microgreens rather than transplants, see how to grow microgreens.
What types of seed starting trays and containers are there?
Seed starting trays fall into a few families, each suited to different crops and scales. The table compares the common plant trays and seed starting containers.
| Type | Description | Typical sizes | Best for |
|---|---|---|---|
| Flat tray (1020 flat) | Open tray, with or without drainage holes | About 27 × 54 cm, 5–6 cm deep | Carrier for inserts, bottom watering, microgreens, sprouting trays |
| Cell inserts (cell packs) | Thin sheets of 4- or 6-cell packs that sit in a flat | Often 18 × 4-cell or 12 six-cell packs per flat | Bedding plants, retail, larger seedlings |
| Plug trays | Rigid one-piece trays with many tapered cells | 50, 72, 128, 200 and 288 cells | Commercial transplant production, hydroponic seedlings |
| Seed starting pots | Individual round or square pots, plastic or fiber | 5–10 cm (2–4 in) | Potting on tomatoes, peppers, cucurbits |
| Biodegradable pots and blocks | Peat, coir or paper pots and soil blocks planted whole | 4–8 cm | Root-sensitive crops, organic growers |
| Hydroponic plug sheets | Rockwool, sponge or coir plugs in a tray | Often 2–4 cm cubes, sheets of 100–200+ | Starting hydroponic seeds for NFT, DWC and towers |
| Humidity domes | Clear lids for seed trays, some with vents | Matched to 1020 flats, 5–18 cm tall | Keeping humidity high during germination |
Are reusable, heavy duty seed starting trays worth it?
Heavy duty seed starting trays made of thicker polypropylene or polystyrene last many seasons, resist cracking when lifted full of wet media, and can be washed and sanitized between crops. Thin, disposable flats are cheap but often split after one or two uses. For a nursery or greenhouse handling thousands of trays, reusable seedling trays usually cost less per crop and reduce plastic waste. Silicone seed starting trays are durable and flexible for popping plugs out, but cost more per cell and are mainly used by hobby growers.
What seed starting supplies do you need?
Beyond the trays themselves, a basic set of seed starting supplies covers most crops:
- Trays and covers: solid and holed flats, plug or cell trays, and seed tray domes. Trays sold as a set with dome lids are the easiest way to keep humidity even.
- Medium: a sterile seed-starting mix, or rockwool and sponge plugs for hydroponics.
- Seedling tools: a dibber or widger, a vacuum or hand seeder for small seed, plant labels and a fine-rose watering can or mister.
- Heat and light: a thermostat-controlled heat mat and LED lights on a timer.
- Monitoring: a soil thermometer and a hygrometer.
The best seed starter kit for a home gardener bundles a tray, insert, dome and sometimes a heat mat and light. Growers raising thousands of plants buy plastic planting trays, nursery plant trays and plug trays by the case, along with propagation benches, so each tray handles the same way through the whole system.
How do you choose cell size for each crop?
Cell size sets how long a seedling can stay in the tray before roots run out of room, so match cells to the crop and the planned transplant age. Typical choices are:
| Crop | Typical tray or cell | Typical weeks to transplant |
|---|---|---|
| Lettuce and leafy greens | 128–200 cell plug trays or hydroponic plugs | 2–4 weeks |
| Brassicas (cabbage, broccoli, kale) | 72–128 cells | 4–6 weeks |
| Herb seedlings (basil, parsley, cilantro) | 72–128 cells, several seeds per cell | 3–6 weeks |
| Tomatoes and peppers | 72 cells, then pot on to 7–10 cm pots | 5–8 weeks |
| Cucumbers, squash and melons | 50–72 cells or 7–10 cm pots | 2–4 weeks |
| Onions and leeks | 128–200 cells or open flats | 8–10 weeks |
Smaller cells such as 288 or 200 save bench space but dry out quickly and need precise watering. Bigger cells are more forgiving and give sturdier transplants.
Seed germination temperature and time chart
Seed germination temperature is the single most important factor in how fast and evenly seeds sprout. The chart below uses widely published soil temperature data for vegetable seed germination from university extension services such as the Alabama Cooperative Extension System; days to emergence are typical ranges at near-optimum temperature.
| Crop | Minimum | Optimum range | Best temperature | Maximum | Typical days to emerge |
|---|---|---|---|---|---|
| Lettuce | 2°C (35°F) | 4–27°C (40–80°F) | 24°C (75°F) | 29°C (85°F) | 2–7 |
| Spinach | 2°C (35°F) | 7–24°C (45–75°F) | 21°C (70°F) | 29°C (85°F) | 5–10 |
| Tomato | 10°C (50°F) | 21–35°C (70–95°F) | 29°C (85°F) | 35°C (95°F) | 5–10 |
| Pepper | 16°C (60°F) | 18–35°C (65–95°F) | 29°C (85°F) | 35°C (95°F) | 7–14 |
| Eggplant | 16°C (60°F) | 24–32°C (75–90°F) | 29°C (85°F) | 35°C (95°F) | 7–14 |
| Cucumber | 16°C (60°F) | 16–35°C (60–95°F) | 35°C (95°F) | 41°C (105°F) | 3–7 |
| Squash | 16°C (60°F) | 21–35°C (70–95°F) | 35°C (95°F) | 38°C (100°F) | 4–7 |
| Cabbage | 4°C (40°F) | 7–35°C (45–95°F) | 29°C (85°F) | 38°C (100°F) | 4–7 |
| Onion | 2°C (35°F) | 10–35°C (50–95°F) | 24°C (75°F) | 35°C (95°F) | 7–14 |
| Parsley | 4°C (40°F) | 10–35°C (50–95°F) | 24°C (75°F) | 35°C (95°F) | 14–28 |
Two practical notes: many lettuce varieties become dormant and germinate poorly above roughly 27–29°C (80–85°F), so start lettuce seeds indoors in a cool spot in summer; and warm-season crops such as peppers and eggplant germinate slowly and unevenly below about 21°C (70°F), which is why growers use heat mats or warm germination rooms. Basil, though not in the extension table, typically germinates well at about 21–27°C (70–80°F).
How do you germinate seeds indoors?
Reliable indoor germination comes down to clean trays, a fine moist medium, the right temperature and light as soon as seedlings emerge. This method works for most vegetables and herbs:
- Clean the trays. Wash reused trays and soak them in a horticultural disinfectant to reduce damping-off fungi.
- Fill with a seed-starting mix. Use a fine, sterile peat- or coir-based mix with perlite, moistened before filling, or pre-soaked rockwool or sponge plugs for hydroponics. Do not pack it tightly.
- Sow at the right depth. A common rule is to sow seeds about two to three times as deep as their width. Lettuce and many herbs need light to germinate, so cover them very lightly or not at all.
- Water and cover. Bottom water or mist gently, then fit humidity domes to keep humidity high.
- Provide steady warmth. Use a germination room or a thermostat-controlled heat mat set to the crop's optimum from the chart.
- Remove the dome at emergence. As soon as most seedlings show, vent and then remove the dome and move trays under light, otherwise seedlings stretch within a day or two.
- Light and water seedlings. Give 14–16 hours of light a day, bottom water when the cells lighten in weight, and start a dilute feed (often EC 0.5–1.0 mS/cm) once true leaves appear.
- Harden off and transplant. Gradually expose seedlings to transplant conditions over 5–10 days before planting out or moving to hydroponic channels.
What temperature and light do seedlings need after germination?
After germination, the ideal temperature for seedlings is usually a little lower than the germination temperature: roughly 18–24°C (65–75°F) by day and a few degrees cooler at night for most vegetables, which keeps growth compact. Light intensity of about 100–300 µmol/m²/s suits most seedlings; too little light causes leggy, pale transplants. See PAR, PPFD and light spectrum for details.
When should you start herb and lettuce seeds indoors?
For outdoor planting, start lettuce seeds indoors about 3–5 weeks before transplanting, most herbs about 6–8 weeks before the last expected frost, and tomatoes and peppers about 6–10 weeks before. For year-round indoor or hydroponic production, sow on a fixed weekly schedule so a new tray is ready every week.
How do you start hydroponic seeds?
To start hydroponic seeds, sow directly into inert plugs such as rockwool, polyurethane sponge cubes or coir plugs held in a tray, so the whole plug moves into the hydroponic system without disturbing roots. Soak rockwool in water adjusted to about pH 5.5 before sowing, keep plugs moist but not waterlogged, and transplant when roots emerge from the bottom and seedlings have two to four true leaves. Lettuce in 2–3 cm sponge plugs is usually ready for NFT channels or rafts in about 2–3 weeks; our hydroponic lettuce guide covers the next stage, and the hydroponic growing media guide compares plug materials. Mars Vertical Farm supplies nursery plug sponge cubes sized for common net cups and channel holes.
How do you scale up seedling production?
Seedling production scales from shelves to benches to dedicated propagation equipment, and each step improves uniformity and labor efficiency.
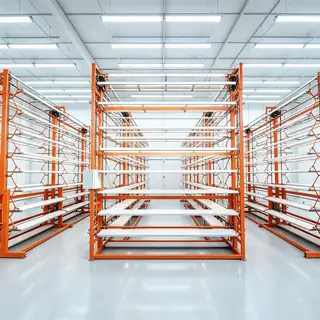
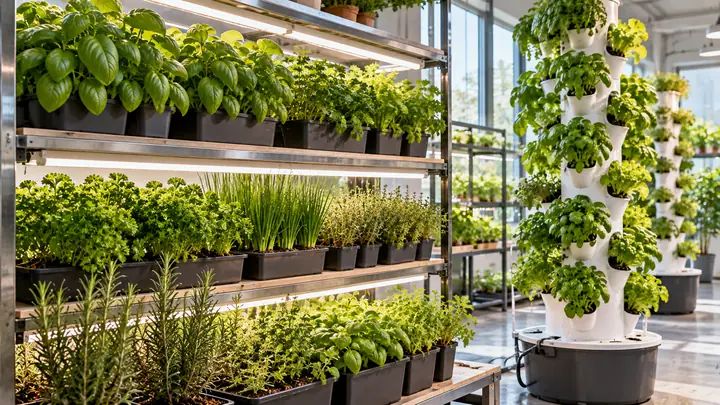
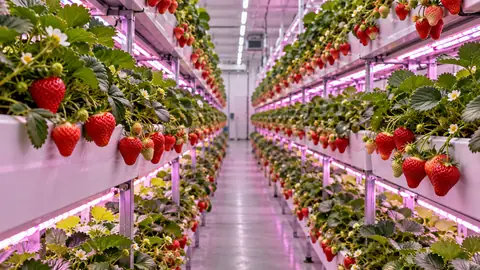
- Seed starting shelf with lights: a four- or five-tier metal rack with LED bars above each shelf holds roughly 4–8 trays per tier in a small footprint. Racks on castors double as carts for moving trays.
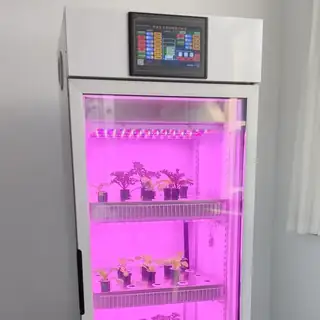
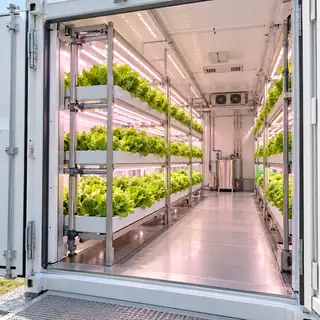
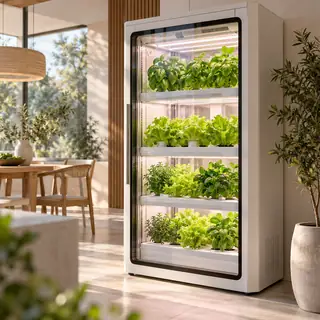
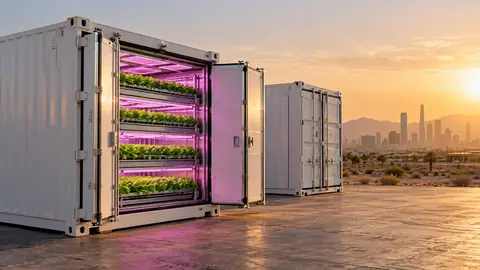
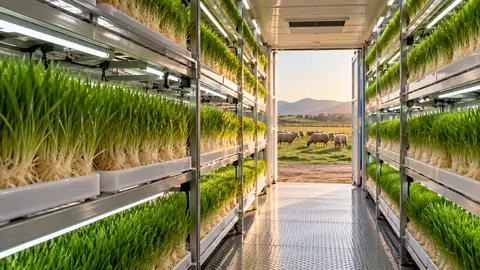
- Tents and cabinets: a tent with shelving or a closed seedling cabinet adds control of temperature and humidity. Compare them in grow tent vs grow cabinet.
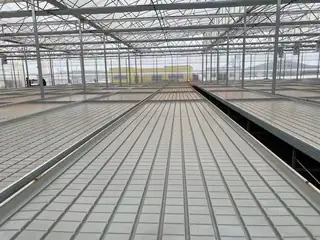
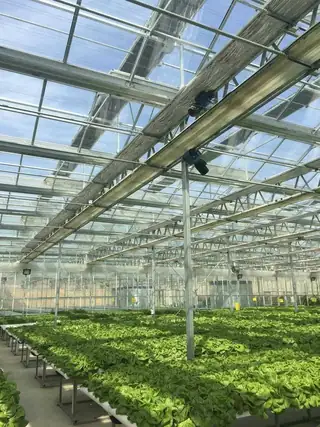
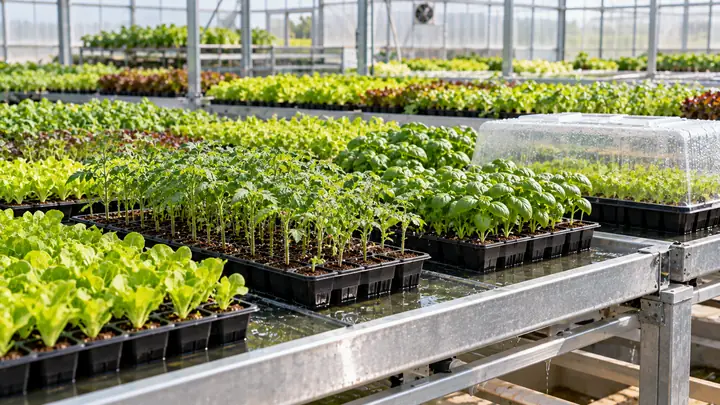
- Tidal (ebb and flow) benches: greenhouse trays sit on benches that flood from below for a few minutes and then drain, watering every cell evenly and keeping leaves and the media surface drier. See ebb and flow flood tables and our customized tidal seedling tray system.
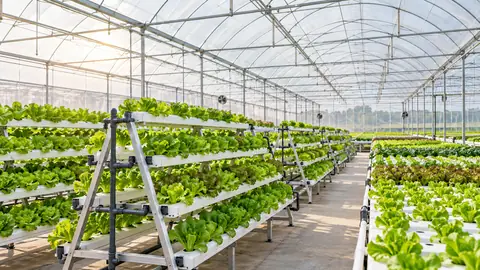
- Rolling and multi-tier benches: rolling benches remove fixed aisles and can raise usable greenhouse area substantially, while vertical seedling tables add tiers.
What are the most common seed starting mistakes?
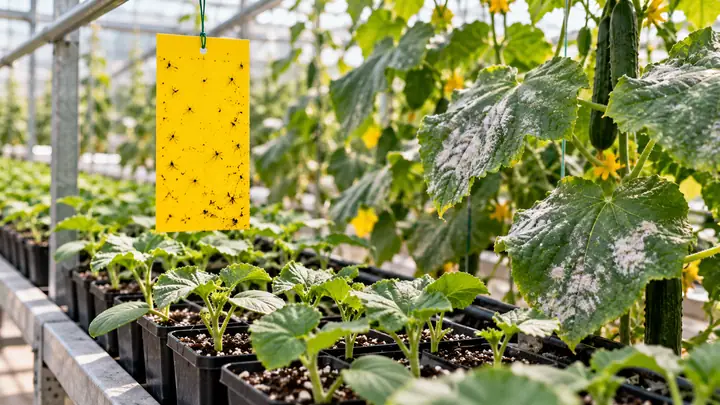
- Overwatering: soggy media causes damping-off and breeds fungus gnats; see our fungus gnat control guide.
- Leaving domes on too long: causes stretching and disease.
- Too little light: a sunny windowsill rarely provides enough for compact seedlings.
- Wrong temperature: too cold slows germination; too hot stops lettuce and spinach from germinating.
- Old or poorly stored seed: run a germination test on a damp paper towel before sowing large batches.
Next steps
The right seed starting trays, matched to crop, cell size and a well-controlled germination environment, are the foundation of uniform transplants and reliable harvests. If you are planning a nursery, greenhouse propagation area or seedling room, tell us your crops, weekly tray count and space and we can propose factory-direct tidal benches, seedling cabinets and plug systems in standard or custom sizes.