Short answer
Micro greens are young vegetable and herb seedlings harvested about 7 to 25 days after sowing, once the seed leaves open. To grow them, sow seed densely on moist coir or a grow mat in a 25 x 50 cm tray, keep it covered and dark for 2 to 5 days, then give 12 to 16 hours of light, water from below and cut just above the medium.
What are micro greens?
Micro greens are the young seedlings of vegetables and herbs, harvested about 7–25 days after sowing, once the seed leaves (cotyledons) open and often when the first true leaf appears. Micro greens are grown densely in shallow trays, cut just above the growing medium and sold as fresh, intensely flavored leaves for garnish, salads and food service.
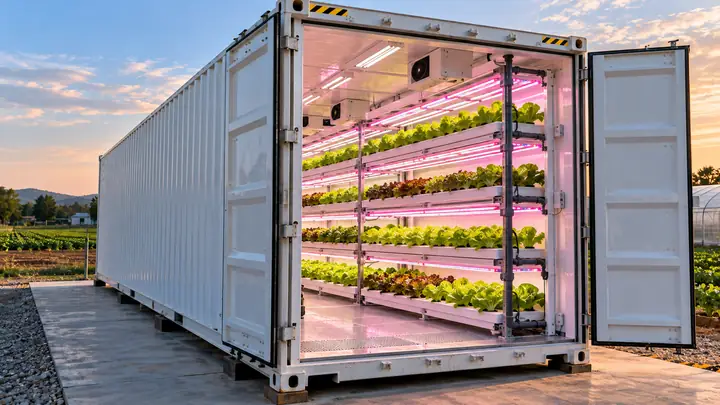
Because they are fast, compact and grow well under LED light, microgreens are one of the easiest crops for indoor, vertical and container farms. This guide covers how to grow microgreens: choosing seeds, setting up trays and lights, the step-by-step growing process and harvesting. For crop economics and sales channels, see our microgreens business guide.
Microgreens vs sprouts vs baby greens: what is the difference?
Microgreens, sprouts and baby greens are the same plants harvested at different stages and grown in different ways. The difference matters for food safety and for equipment.
| Product | How it is grown | Light | Typical days from seed | What is eaten |
|---|---|---|---|---|
| Sprouts (micro sprout) | Germinated in water or a damp container, no medium | Little or none | About 2–7 | Whole seedling: seed, root and shoot |
| Microgreens | Dense sowing on soil mix, coir or a grow mat | Yes, after germination | About 7–25 | Stem and leaves, cut above the medium |
| Baby greens | Wider spacing in trays, beds or hydroponic channels | Full | About 20–40 | Young leaves |
Micro herbs are simply microgreens grown from herb seed, and terms such as micro leaves describe the same product.
What are the best seeds for microgreens?
The best seeds for microgreens are fast, uniform crops with good flavor and color, such as radish, broccoli, pea, sunflower, mustard and kale. Micro herb seeds such as basil and cilantro grow more slowly, so growing micro herbs takes more patience, but they sell at a premium. The table below gives typical starting points for a standard 25 × 50 cm (10 × 20 in) tray; seed rates and timing vary by seed lot, temperature and light, so record your own results.
| Crop | Pre-soak | Seed per 10 × 20 tray (starting point) | Blackout | Days to harvest |
|---|---|---|---|---|
| Radish | No | About 20–30 g | 2–3 days | About 7–10 |
| Broccoli, kale, cabbage | No | About 15–25 g | 3 days | About 8–14 |
| Mustard, arugula | No | About 10–20 g | 2–3 days | About 8–14 |
| Pea shoots | 8–12 hours | About 150–250 g dry seed | 3–4 days | About 7–12 |
| Sunflower | 8–12 hours | About 100–200 g dry seed | 3–4 days | About 8–12 |
| Beet, chard | Optional, 4–8 hours | About 25–40 g | 4–5 days | About 14–21 |
| Amaranth | No | About 5–10 g | 3–4 days | About 14–21 |
| Basil (micro herb) | No; seed gels when wet | About 8–15 g | 3–4 days | About 16–25 |
| Cilantro (split seed) | Optional | About 25–40 g | 5–7 days | About 16–25 |
Mississippi State University Extension groups pea shoots and radish among the fastest crops at about 7–10 days, brassicas such as mustard, kale and arugula at about 10–15 days, and beets, amaranth, cilantro and basil at about 16–25 days. The easiest microgreens to grow for beginners are radish, broccoli and pea shoots.
Where to buy microgreen seeds
Buy microgreen seeds from suppliers who sell untreated seed specifically for microgreens and sprouting, with a stated germination rate and, ideally, pathogen testing. Never use seed treated with fungicide. Microgreen seeds in bulk, usually sold by the kilogram or pound, cut cost per tray for commercial growers; organic microgreen seeds are needed if you want to sell certified organic microgreens. The best microgreen seeds give even germination, which matters more than price because uneven trays are slower to harvest.
What equipment do you need for a microgreen setup?
A basic microgreen setup needs trays, a growing medium, light, water and good airflow; a commercial microgreen grow system adds multi-tier racks, automated watering and climate control.
- Micro green trays: the standard is a 25 × 50 cm (10 × 20 in) tray. Use a tray with drainage holes nested inside a solid tray for bottom watering, plus a spare tray or lid for blackout. Smaller microgreen containers suit home growing and retail live-tray sales.
- Medium: fine coco coir, a peat-based seed mix, or hydroponic grow mats made of hemp, jute or similar fibers. See the hydroponic growing media guide.
- Lighting: LED strips or bars 15–40 cm above the canopy. See grow lights for indoor farming.
- Shelving: a 1.2 × 0.6 m (4 × 2 ft) shelf holds about four standard trays, so a five-tier rack holds about 20 trays in under 1 m² of floor space.
- Water and airflow: clean, potable water, a watering can or bottom-flood tray, and small fans to keep air moving.
- Harvest tools: a sharp knife or scissors, a scale and clean containers.
A microgreen kit with trays, mats and seed is a convenient way to learn how to grow microgreens at home before investing in racks.
How to grow microgreens step by step
How to grow microgreens indoors follows the same sequence for almost every crop: sow densely, keep dark and humid until germination, then move into light and water from below. These steps suit beginners and commercial farms alike.
- Soak large seeds. Soak pea, sunflower and similar large seeds for 8–12 hours in clean water, then drain. Small seeds are sown dry.
- Prepare the tray. Fill a drainage tray with 2–3 cm (about 1 in) of moist, level medium, or lay a pre-wetted grow mat.
- Sow evenly. Scatter the measured seed across the whole surface; seeding microgreens evenly is the single biggest factor in a uniform tray. Press seed gently into contact with the medium.
- Mist and cover. Mist the seed, then cover with an inverted tray. For pea, sunflower and beet, place a weight of about 2–5 kg on top; it helps roots anchor and gives straighter, stronger stems.
- Keep dark for the blackout period. Hold at about 18–24 °C (64–75 °F) for 2–5 days, depending on crop, until the microgreens seedlings are 2–5 cm tall and push up the cover.
- Move into light. Uncover and give 12–16 hours of light a day. Pale yellow seedlings green up within a day.
- Bottom water. Water into the solid tray beneath rather than over the leaves, typically once a day, so the medium stays moist but not waterlogged.
- Harvest on time. Cut when cotyledons are fully open or the first true leaves just appear; see the harvest section below.
How much light, water and warmth do microgreens need?
Microgreens need modest light, steady moisture, mild temperatures and good airflow; most problems come from too much water and too little air movement.
- Light: a photosynthetic photon flux density (PPFD) of roughly 100–300 µmol/m²/s for 12–16 hours works for most crops. Commonly cited daily light integral (DLI) targets are about 6–12 mol/m²/day; more light gives deeper color and thicker stems, while too little gives tall, pale, floppy greens. Our guide to PAR, PPFD and light spectrum explains these units.
- Temperature: about 18–24 °C (64–75 °F) suits most microgreens; pea shoots prefer the cooler end and basil the warmer end.
- Humidity and airflow: after blackout, keep relative humidity around 40–60% and run fans continuously to prevent mold and damping-off.
- Water and nutrients: most fast crops grow on plain water and seed reserves. Longer crops such as basil, amaranth and beet often benefit from a dilute nutrient solution on mats; keep water pH around 5.5–6.5.
Is it mold or root hairs?
White fuzz on young radish, broccoli and other brassica roots is usually root hairs, which are fine and silky and disappear when misted. Mold is grayer, web-like, spreads across seeds and stems and smells musty. If you see mold, improve airflow, lower seed density, water less and sanitize trays. Fungus gnats are another sign of persistently wet media; see fungus gnats and powdery mildew control.
Can you grow microgreens hydroponically or in a vertical farm?
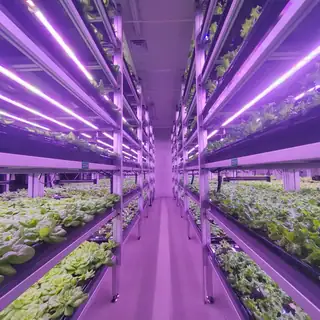
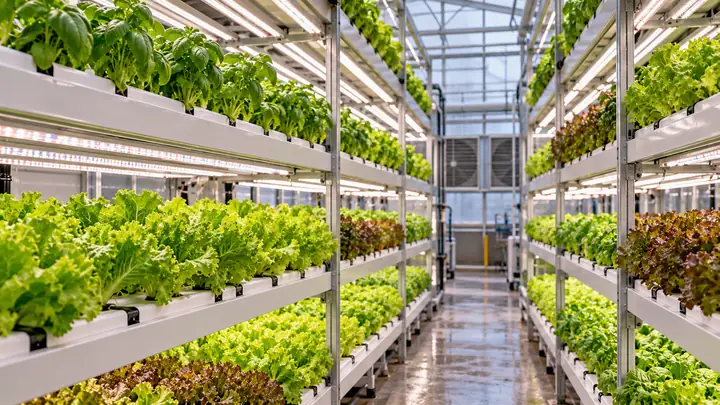
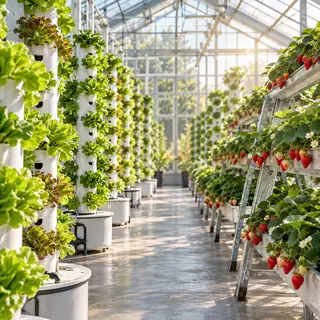
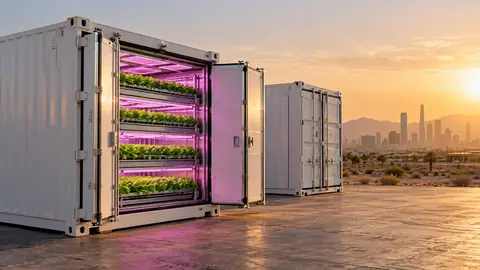
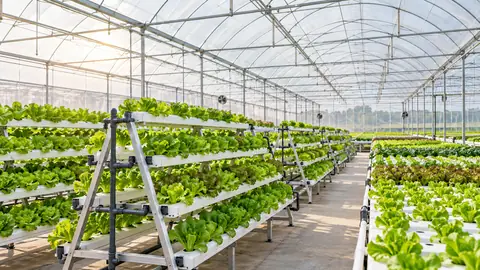
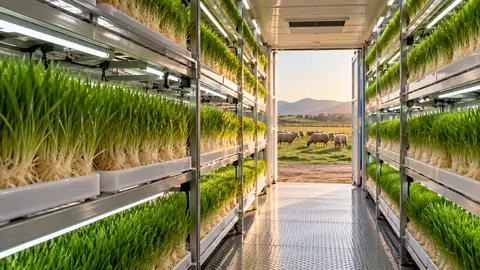
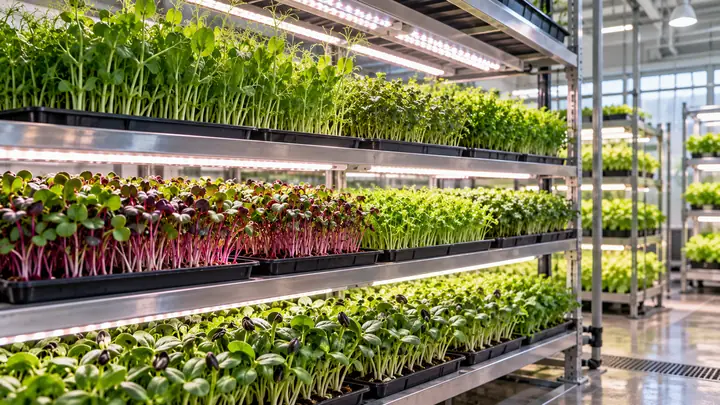
Yes. Microgreens are well suited to hydroponic and vertical systems because they need little light, no transplanting and only a shallow root zone. A microgreens hydroponic system typically grows seed on fiber mats in trays that are periodically flooded and drained, then stacks those trays on multi-tier racks under LED lights.
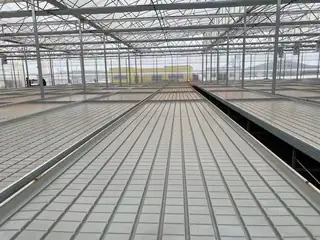
- Ebb and flow benches: flood the trays from below for a few minutes, then drain; ideal for even moisture without wetting leaves. See ebb and flow flood tables.
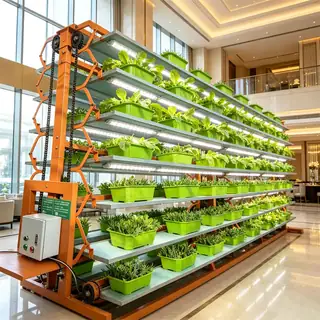
- Multi-tier racks: four to eight tiers with 30–40 cm (12–16 in) spacing between shelves. A multi-layer vertical grow rack can be fitted with lights and flood trays per tier.
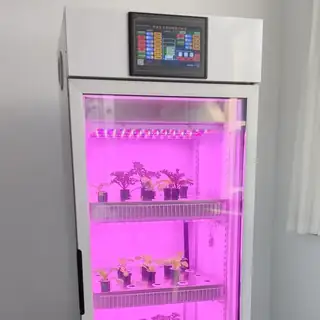
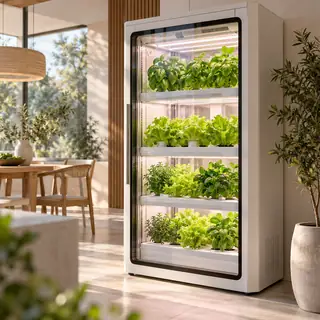
- Germination and seedling cabinets: enclosed cabinets hold temperature and humidity steady during blackout and early growth, which helps uniformity.
- Automated sprout and microgreen systems: larger farms use automated irrigation, climate control and tray handling to grow micro greens and fodder at scale.
When and how should you harvest microgreens?
Harvest microgreens when the cotyledons are fully open and, for many crops, as the first true leaf appears; waiting much longer makes them tougher and some crops more bitter. How long microgreens take to grow therefore depends on the crop: about a week for radish, two weeks for most brassicas and peas, and three weeks or more for micro herbs.
- Stop watering 12–24 hours before harvest so leaves are dry; wet greens spoil quickly.
- Cut cleanly with a sharp knife or scissors, usually about 1 cm above the medium; University of Kentucky guidance stresses cutting high enough to keep medium out of the harvested crop.
- Cool immediately to about 1–4 °C (34–39 °F). Stored dry and cold, most microgreens keep about one to two weeks.
- Expect yields of very roughly 150–400 g (5–14 oz) per 10 × 20 tray, higher for pea and sunflower and lower for amaranth and herbs.
- Packaging for microgreens is usually rigid clamshells or vented bags, labeled with harvest date; living trays on mats are popular with restaurants because no loose medium enters the kitchen.
Where can you buy microgreens, and how much do they sell for?
Where can I buy microgreens? You can buy microgreens at farmers markets, specialty grocers, online produce delivery services and directly from local growers. Prices vary widely by crop, market and region; a University of Kentucky publication notes that growers who can sell high-quality microgreens at about $25–$50 per pound are likely to see positive returns. Do you need a license to sell microgreens? Requirements depend on your state and local authorities and on your sales volume, including whether the FDA Food Safety Modernization Act produce rules apply, so check with your state department of agriculture and local health department before selling. Our microgreens business guide covers pricing, buyers and equipment planning in detail.
Next steps
Micro greens reward precise, repeatable conditions: measured seed, even sowing, a controlled blackout, the right light and good airflow. Once you move beyond a few trays, racks, flood benches and climate-controlled cabinets make every tray more consistent. Mars Vertical Farm manufactures multi-tier racks, tidal benches, seedling cabinets and automated sprout systems factory-direct, with custom tier counts and tray sizes. See our tidal seedling tray system, then send us your target trays per week and room size for a layout and quotation.