Short answer
A grow tent is a portable fabric room on a steel-pole frame with a reflective lining, which you equip with lights, fans and filters yourself. A grow cabinet is a rigid, often insulated enclosure with built-in lighting, ventilation and controls. Tents cost less per square meter and come in sizes from about 60 × 60 cm to 3 × 3 m; cabinets suit propagation, schools and restaurants.
What is a grow tent, and how is it different from a grow cabinet?
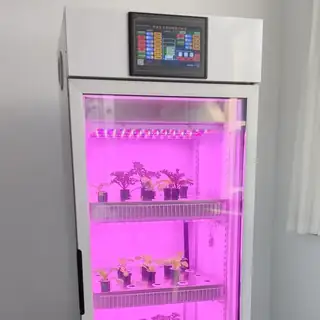
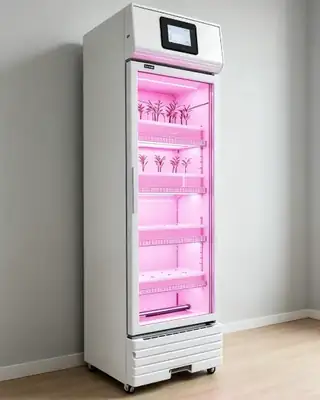
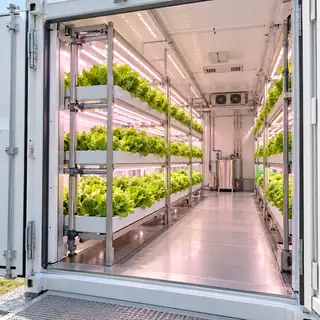
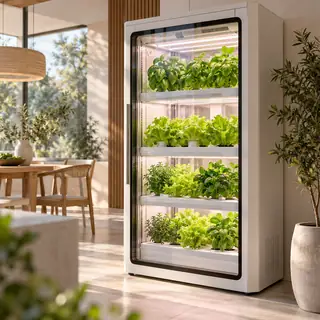
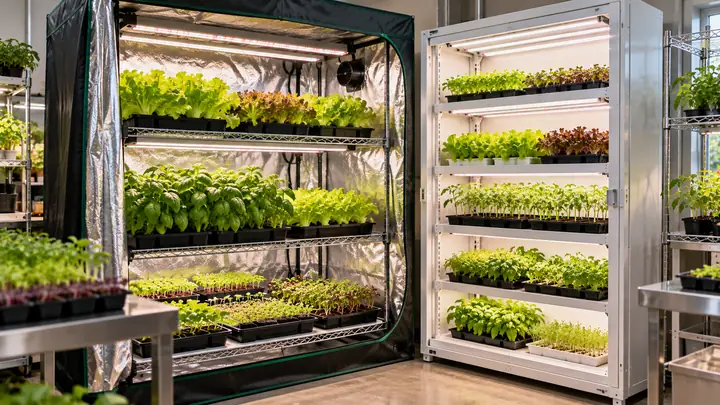
A grow tent is a lightweight, portable indoor growing room made of a steel-pole frame covered in thick fabric with a reflective Mylar lining, sealable zippers and ports for ducting and cables. A grow cabinet is a rigid, usually insulated steel or aluminum enclosure that often comes with built-in LED lighting, fans, controls and sometimes hydroponic irrigation.
Both create a controlled space for vegetables, herbs, microgreens, seedlings and cuttings inside a home, shop, classroom or warehouse. The difference is mainly how much you assemble yourself: an indoor grow tent is a flexible shell you equip, while a cabinet is closer to a finished appliance. This guide compares the two, explains grow tent sizes and setup, shows how to size ventilation and set grow room conditions, and helps you decide which to buy. For cabinet-specific features, see our grow cabinets and grow boxes guide.
Grow tent vs grow cabinet: side-by-side comparison
A grow tent wins on cost per square meter, size range and flexibility, while a grow cabinet wins on durability, insulation, built-in automation and appearance. The table summarizes the trade-offs.
| Feature | Grow tent | Grow cabinet |
|---|---|---|
| Structure | Steel poles with fabric cover, commonly 600D–1680D Oxford cloth | Rigid steel, aluminum or composite panels, often insulated |
| Setup | Assemble frame, then add lights, fans and filters separately | Delivered largely assembled; lights and fans often built in |
| Typical sizes | From about 60 × 60 cm (2 × 2 ft) to 3 × 3 m (10 × 10 ft) and larger | Usually 0.3–1.5 m² footprint, single or multi-shelf |
| Insulation and light seal | Good light seal; little insulation | Better insulation; stable temperature |
| Automation | Add-on timers, controllers and sensors | Often integrated timer, fan control, irrigation and app control |
| Durability | Fabric and zippers wear; poles may sag under heavy loads | Long life; easy to clean and sanitize |
| Portability | Packs flat; easy to move | Heavier; often on castors |
| Upfront cost | Lower per square meter | Higher, but includes more equipment |
| Best for | Hobbyists, trials, flexible spaces, larger areas on a budget | Propagation, restaurants, schools, labs, retail and living spaces |
What size grow tent do you need?
Choose grow tent size from the crop, the number of trays or plants and the room you have, leaving at least 30 cm (1 ft) around the tent for access and airflow. Common sizes and uses are:
| Tent size (ft) | Approx. metric | Typical use | Approx. capacity |
|---|---|---|---|
| 2 × 2 (small grow tent) | 60 × 60 cm | Herbs, a few seedlings, test crops | 1–2 standard 1020 trays per level |
| 2 × 4 | 60 × 120 cm | Seed starting, microgreens | About 3–4 trays per level |
| 3 × 3 | 90 × 90 cm | Herbs, leafy greens, peppers | About 3–4 trays per level |
| 4 × 4 | 120 × 120 cm | Mixed vegetables, a small hydroponic system | About 6–8 trays per level |
| 5 × 5 | 150 × 150 cm | Tomatoes, cucumbers, larger plants | About 10–12 trays per level |
| 4 × 8 and 10 × 10 (large grow tent) | 120 × 240 cm, 300 × 300 cm | Shelved propagation, small production trials | Multi-tier racks with dozens of trays |
Most tents are 160–200 cm (5.3–6.5 ft) tall; taller models help with grow tent shelving or trellised crops. A standard 1020 tray measures roughly 27 × 54 cm (10.5 × 21 in), so tray counts above allow for small gaps. For seedlings, multi-level grow tent shelves with one LED bar per level use height far better than a single light at the top.
How do you set up a grow tent?
A good grow tent setup is planned around airflow and light first, then water and plants. These steps cover setting up a grow tent for vegetables, herbs or propagation:
- Pick the spot. Choose a level floor near a power outlet with a ground-fault (GFCI) circuit, away from direct heat sources, with access for water and drainage. A spare room, basement or garage works better than a carpeted bedroom.
- Assemble the frame and cover. Lock all pole joints, fit the cover and check zippers close fully.
- Hang the light. Mount an LED fixture on adjustable hangers and set the height from the manufacturer's PPFD map.
- Install ventilation. Mount an inline duct fan high in the tent to exhaust warm air, add an optional carbon filter, and open a low passive intake or add an intake fan.
- Add circulation. Place one or two small clip fans to move air gently over and under the canopy.
- Set up water and growing system. Place trays, a hydroponic system or pots on a waterproof tray or shelving, and run cables high, away from water.
- Add controls. Connect timers or a controller, a thermometer and hygrometer, and run the empty tent for 24 hours to check temperature and humidity before planting.
What comes in a complete grow tent kit?
Grow tent kits typically bundle the tent, an LED light, an inline duct fan, ducting, a carbon filter, hangers and a timer. A complete grow tent kit is convenient, but cheap kits often pair the tent with an underpowered light or a noisy fan with no speed control. Check the light's PPFD and efficiency (micromoles per joule) and the fan's airflow rating rather than buying on price alone. Smaller countertop grow kits skip the tent altogether and combine a light, tray and reservoir in one unit, which suits herbs on a kitchen counter but not a full crop. Our grow lights for indoor farming guide explains what to look for.
How do you choose the best grow tent?
The best grow tents share a few build details that matter more than brand or price. Whether you buy a budget or a premium model, check:
- Fabric: denser Oxford cloth (higher denier) and a tear-resistant reflective liner without pinholes.
- Frame: metal poles and corners rather than plastic connectors, with a stated hanging load for lights and filters.
- Zippers and ports: heavy, light-tight zippers and enough duct and cable ports in the right places.
- Floor: a removable waterproof floor tray to catch spills.
- Shelving: optional grow tent shelving or a grow tent shelf kit if you plan multi-level seedling trays.
A DIY grow tent built from PVC pipe and reflective sheeting can work for a short trial, but it rarely seals light and air as well as a purpose-made tent.
How do you ventilate a grow tent or grow room?
A grow room ventilation system removes heat and humidity, refreshes carbon dioxide and keeps air moving through the canopy, and an exhaust fan sized to the tent volume is the core of it. A practical sizing method for a grow room exhaust fan is:
- Calculate volume. Length × width × height. A 4 × 4 × 6.5 ft tent is about 104 ft³ (roughly 2.9 m³).
- Choose an exchange rate. A common rule of thumb is one full air exchange every 1–3 minutes; aim toward one minute when lights add a lot of heat.
- Add allowances. Add roughly 20–30% for a carbon filter and more for long duct runs or bends.
- Pick a fan with speed control. For the 4 × 4 example, about 130–200 CFM (roughly 220–340 m³/h) works, which a 4–6 in (100–150 mm) inline duct fan for a grow tent covers easily at partial speed.
Run passive intake vents about two to three times the exhaust area, or use an intake fan slightly smaller than the exhaust so the tent stays under gentle negative pressure and the walls pull inward a little. A carbon filter on the exhaust controls odors, which is useful in apartments, classrooms or offices where fish-based or other organic fertilizers can smell. Sealed indoor rooms need fans that run whenever the lights do. For larger rooms, dehumidifiers and air conditioning take over from simple exhaust; see indoor farm HVAC and dehumidification.
What are ideal grow room temperature and humidity?
Ideal grow room temp and humidity depend on the crop and growth stage. Typical targets used by growers and university extension services are:
- Germination and seedlings: about 21–27°C (70–80°F), 60–80% relative humidity (RH), often under a dome.
- Leafy greens and microgreens: about 18–24°C (64–75°F), 50–70% RH.
- Herbs such as basil: about 20–27°C (68–80°F), 40–65% RH.
- Fruiting vegetables: about 21–27°C (70–80°F) by day and 16–20°C (61–68°F) at night, 60–75% RH.
These ranges also apply as ideal greenhouse temp and humidity for the same crops. Humidity that stays above about 85% invites mold and powdery mildew, which our fungus gnats and powdery mildew guide covers.
Which lights, watering and automation do you need?
A grow tent with LED lights, a simple watering method and a timer is enough for most vegetables and herbs; add sensors and controllers as the tent grows in value.
- Lighting: full-spectrum LED fixtures are now standard. Seedlings typically need around 100–300 µmol/m²/s, leafy greens around 200–400 and fruiting crops more. For a 4 × 4 ft tent of leafy greens, a quality LED of roughly 150–250 W is a typical starting point. See PAR, PPFD and light spectrum for plants.
- Grow tent watering system: options range from bottom-watering trays and capillary mats to drip lines on a timer or a small hydroponic grow tent setup with NFT, deep water culture or ebb and flow. An automatic watering system for a grow tent should sit on a drip tray with a leak sensor.
- Grow tent automation: controllers can switch lights, fans and pumps from temperature, humidity and time, and log data to a phone. Start with a reliable timer and a fan speed controller, then add sensors.
Should you buy a grow tent or a grow cabinet?
Buy a grow tent if you want the most growing space for the money, need a large or unusual size, or expect to change equipment often. Buy a grow cabinet if you need a clean, durable, presentable unit that works with minimal setup.
- Choose a grow tent for: budget setups, a low budget DIY grow room, larger areas such as 4 × 8 or 10 × 10 ft, trialing crops and lights, and seasonal use. An outdoor grow tent or small plastic plant tent is really a mini greenhouse; it needs UV-resistant cover and anchoring rather than a light-proof liner.
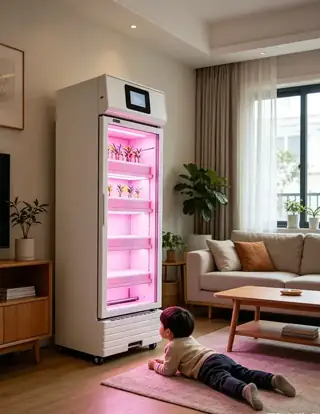
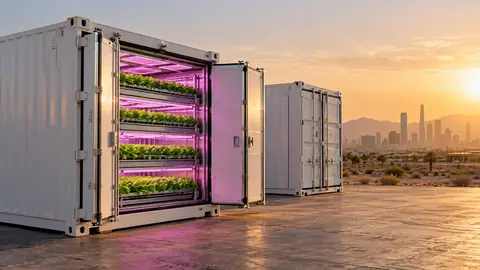
- Choose a grow cabinet for: propagation and seedling production, restaurants and retail displays, schools and labs where hygiene and repeatability matter, and living spaces where looks and noise matter.
For commercial propagation, multi-layer seedling cabinets with built-in irrigation produce more uniform transplants per square meter than a tent with shelving. Examples include our single and double door seedling cabinet and the wider smart grow cabinets and home systems range.
When should you build a grow room instead?
Once you need more than two or three large tents, building a grow room or an insulated indoor farm usually costs less per square meter to run. Good grow room design starts with insulated walls, a washable floor with drainage, dedicated electrical circuits, HVAC sized for lighting heat, and vertical racks or rolling benches. At that point, look at multi-tier racks or a vertical farm layout.
Next steps
A grow tent is the flexible, low-cost way to start growing indoors, and a grow cabinet is the cleaner, more automated choice for propagation and display. If you are equipping a propagation room, school, restaurant or small indoor farm, share your space, crop and daily output and we can recommend factory-direct grow cabinets, seedling cabinets or racks, including custom sizes.