


Short answer
Drip irrigation repair means fixing leaks, clogged emitters, pressure problems and faulty valves so every plant gets even water. Most leaks are fixed by cutting out the damaged section and fitting a matching coupling or goof plug. Prevent clogs by cleaning filters, flushing laterals every few weeks, chlorinating at about 1–2 ppm continuously or higher periodic doses, and using acid where hard water causes scale.
What does drip irrigation repair involve?
Drip irrigation repair means finding and fixing leaks, clogged emitters, pressure problems and failed valves or controllers so every plant again receives the same amount of water. Most problems are prevented by routine maintenance: cleaning filters, flushing lines, checking flow and pressure, and treating water chemistry before emitters clog.
This guide gives a troubleshooting table, a maintenance schedule for commercial drip systems, step-by-step methods for fixing drip line and drip tape, clog treatment with chlorine and acid, and checks for valves and controllers. For how a system is built in the first place, see our drip irrigation system guide.
How to fix drip irrigation: troubleshooting by symptom
The fastest way to fix a drip system is to start from the symptom, measure pressure and flow, and work back to the cause. A pressure gauge at the zone inlet and at the end of a lateral, plus a flow meter at the head unit, solve most mysteries quickly.
| Symptom | Likely causes | Fix |
|---|---|---|
| Low pressure across the whole zone | Dirty filter, failed regulator, pump wear, too many zones open, major leak | Clean filter, check gauges before and after filter and regulator, inspect for leaks, confirm only one zone runs |
| Dry plants at the far end of rows | Laterals too long, partial clogging, low inlet pressure | Flush laterals, check end pressure, shorten runs or feed from both ends |
| Single dry plants or dry spots | Clogged emitter, kinked micro tube, insect or rodent damage | Clean or replace emitter, straighten or replace tube, inspect line |
| Wet spots, puddles or geysers | Holes, split tubing, blown fitting, punctured tape | Cut out damaged section and install a coupling, reseat fitting |
| Zone flow higher than normal | Leaks, missing emitters, open end cap, burst tape | Walk the zone during operation and repair leaks |
| Zone flow lower than normal | Clogging, dirty filter, valve not fully open | Clean filter, flush lines, treat clogging chemically |
| Filter clogs very quickly | Algae, sediment after rain, iron precipitates | Add sand media pre-filter, chlorinate, shade or cover tanks |
| Zone will not turn on or off | Controller fault, wiring break, failed solenoid, debris in valve | Test controller output and solenoid, clean or rebuild valve |
Maintenance of drip irrigation system: a routine schedule
Regular maintenance of a drip irrigation system costs far less than replacing clogged laterals, and a written schedule makes sure it actually happens. Adjust intervals to your water quality: surface water and fertigation need more frequent attention than clean well water.
- Every irrigation: check pressure gauges and the flow meter reading against the zone's baseline; a change of more than about 10% deserves a look.
- Daily to weekly: clean or backwash filters, or confirm automatic backwash is working; walk zones for leaks and dry spots.
- Every 2–4 weeks: flush lateral ends and sub-mains, more often after fertigation or with surface water.
- Monthly or as needed: chlorinate to control slime and algae; inject acid where water tests show scaling risk.
- Each season: test water quality, check regulators and valves, calibrate injectors, and record emitter flow on sample laterals.
- End of season: flush, drain, retrieve or protect lines, and service pumps and filters before storage.
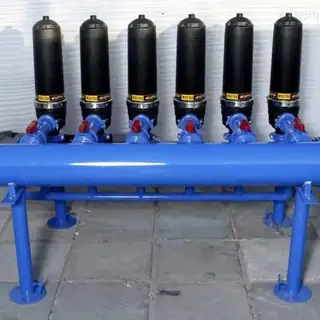
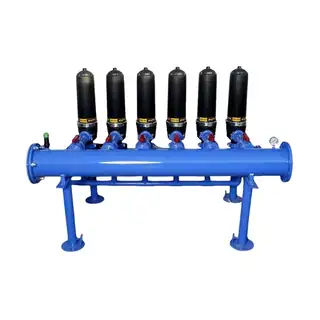
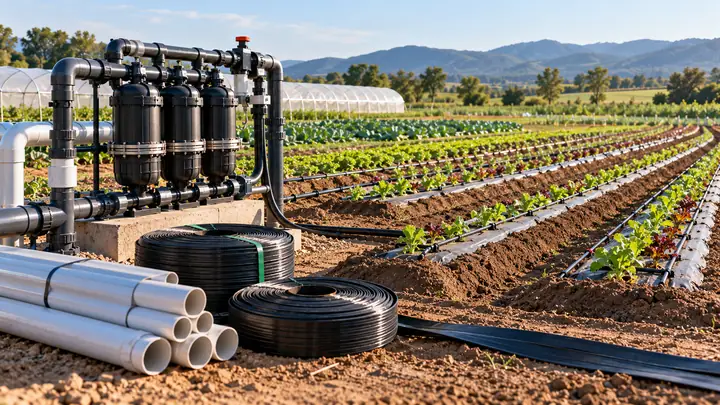
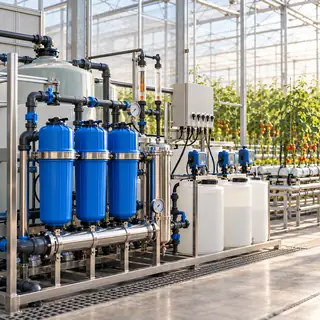
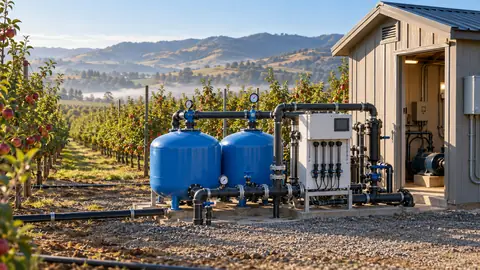
Good drip system maintenance starts with filtration. A self-cleaning automatic disc filter backwashes when pressure difference rises, removing the most neglected task. Our irrigation filters guide explains mesh sizes and filter types.
How to flush drip lines
Flushing removes the fine silt, algae and precipitates that pass the filter and settle at the ends of laterals. Flush in order from the largest pipes to the smallest so debris is not pushed back into the laterals.
- Clean the filter first so you are not adding debris.
- Open the flush valve or end cap on the main, then the sub-mains, and run until water runs clear.
- Open the ends of several laterals at a time, typically starting farthest from the valve.
- Run each lateral until water is clear, then for about one to two minutes more. Engineering guidance commonly targets a flushing velocity of at least about 0.3 m/s (1 ft/s) in the lateral.
- Close the ends, then check that zone pressure returns to normal.
- Record the date and how dirty the flush water was; dirtier water means flush more often or improve filtration.
Automatic flush valves at lateral ends release a burst of water at each start-up and are useful in greenhouses and orchards where manual flushing is labor-intensive.
How to clear clogged drip emitters
Emitter clogging has three causes, physical, biological and chemical, and each needs a different treatment. A water test for pH, iron, manganese, hardness, bicarbonate and bacteria tells you which one to expect.
Physical clogging: sand, silt and debris
Sand and silt get past torn screens, poorly sealed filters or broken pipes during repairs. Fix the filtration, flush thoroughly after any repair, and replace emitters that stay blocked.
Biological clogging: algae and slime
Algae, bacterial slime and iron bacteria grow in warm, nutrient-rich water. Chlorine injection is the standard control. University extension services commonly describe two approaches: a continuous low dose of about 1–2 ppm free chlorine measured at the end of the line, or periodic injection at about 10–20 ppm for two hours or more, for example once a month. Chlorine works best when water pH is about 7 or below. Follow the product label and local guidance, and keep tanks and clear pipes shaded.
Chemical clogging: calcium scale and iron
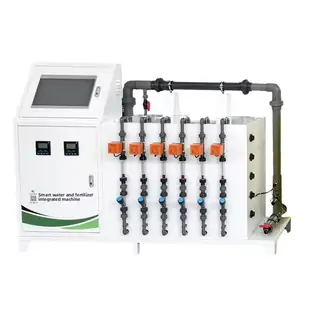
Hard water with high bicarbonate leaves calcium carbonate scale, and iron or manganese form rust-colored deposits. Acid injection lowers pH to dissolve and prevent scale; a cleaning treatment lowers pH enough for long enough to dissolve deposits, with the target pH and contact time taken from the acid supplier and extension guidance, while continuous injection to slightly acidic water, around pH 6–6.5, helps prevent new deposits. Use acids rated for irrigation, add acid to water, never water to acid, and never mix acid and chlorine products in the same tank, because they can release toxic chlorine gas. A fertigation injector or dosing pump makes these treatments accurate; see our guide to dosing pumps and venturi injectors.
How to repair a drip irrigation line
Fixing drip line irrigation is usually a five-minute job with the right fittings, as long as you match the fitting to the tubing's exact outside diameter and wall thickness. These steps cover drip line and blank tubing:
- Turn off the zone and relieve pressure.
- Find the full extent of the damage; rodents often chew several spots close together.
- Cut out the damaged section squarely with a tubing cutter or sharp pruners.
- Push a straight coupling (barbed, compression or lock type) into both ends. If the gap is long, splice in a new length of matching tubing with two couplings.
- For a small hole from a removed emitter, insert a goof plug instead of cutting.
- Flush the line briefly with the end open to clear soil, then close it and check for leaks under pressure.
How to fix drip tape
Drip tape has thin walls, so use tape couplers or lock-ring repair fittings made for tape; barbed fittings for thick drip line can tear it. Cut the damaged section out, slide each end onto the coupler and tighten the lock rings. Keep spare couplers on every tractor and in every greenhouse.
Does drip line repair tape work?
Drip repair tape, an adhesive or self-fusing wrap sold for patching holes, can seal a pinhole in low-pressure tape or tubing as a temporary fix. It is less reliable than a proper coupling, especially on wet or dirty tubing or at higher pressure, so treat drip irrigation repair tape as a stopgap until the section can be replaced. More on tape and line differences in drip tape vs drip line.
Valve and irrigation controller repair
When a zone will not start or stop, the fault is usually in the controller output, the field wiring, the solenoid or debris inside the valve. Work through it in that order.
- No zones work: check power, the fuse and the transformer; a 24 VAC controller typically outputs roughly 24–28 VAC at the zone terminals when a zone is on.
- One zone fails to open: measure solenoid resistance with a multimeter; many 24 VAC solenoids read roughly 20–60 ohms, while an open or very low reading points to a failed coil or wiring break.
- Valve will not close: look for grit in the diaphragm or bleed port, a torn diaphragm, an open manual bleed screw or a loose solenoid; rebuild kits are inexpensive.
- Valve weeps: clean the seat and replace the diaphragm.
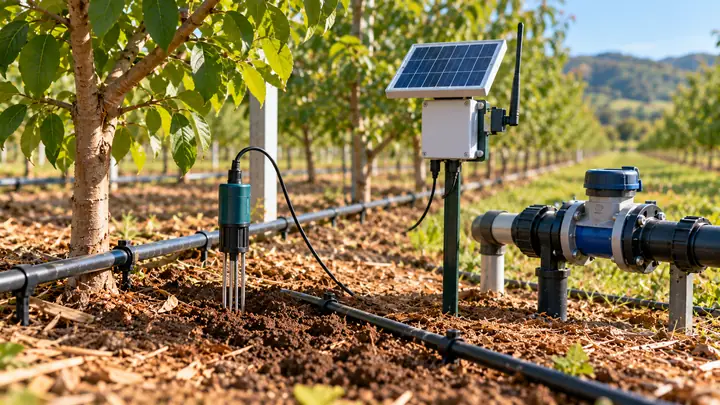
Irrigation controller repair beyond these checks often means replacing a module or upgrading to a controller with flow sensing, which detects leaks and clogs automatically. See our guides to irrigation valves and soil moisture sensors and flow meters.
Irrigation system repair parts to keep on hand
A small stock of irrigation repair parts keeps downtime short during the season. A practical kit for a commercial drip system includes:
- Couplings, tees, elbows and end caps for each tubing size on the farm.
- Tape couplers and lock-ring fittings for drip tape.
- Goof plugs, spare emitters, dripper stakes and micro tubing.
- Start connectors, grommets and a hole punch for sub-mains.
- Filter screens or disc packs, seals and O-rings.
- Valve diaphragm kits, spare solenoids and waterproof wire connectors.
- Spare pressure regulator, pressure gauge and a tubing cutter.
Laterals that are badly scaled, brittle from sunlight or chewed in many places are usually cheaper to replace than to keep repairing.
Next steps
Mars Vertical Farm supplies automatic filters, fertigation and dosing equipment, and replacement components for drip systems. Explore the irrigation and fertigation range, or tell us about your system and water quality and we will recommend filtration and spare parts, with factory-direct supply and custom kits for your layout. Regular drip irrigation repair and maintenance pays back quickly in even growth and longer equipment life.