Short answer
A microgreens business grows vegetable and herb seedlings indoors on trays and harvests them about 7-21 days after sowing, depending on the crop. The essentials are shallow trays, a growing medium or fiber mat, multi-tier racks with LED lights, airflow, clean seed and a cool packing area. Plan production from weekly customer orders, then size racks to match.
What is a microgreens business?
A microgreens business grows young vegetable and herb seedlings, harvested when the seed leaves have opened and the first true leaves are just appearing, and sells them fresh to restaurants, retailers and households. Most crops are ready in roughly one to three weeks, so a small indoor space can produce many harvests a year.
That speed, plus year-round indoor production and premium prices, is why microgreens farming attracts first-time growers and established farms looking to diversify. It is also a business of details: sowing density, hygiene, consistent quality and reliable delivery decide whether customers reorder. This guide covers crops and timing, the microgreen growing equipment you need, hydroponic and soil-based systems, a simple capacity plan and how to sell microgreens.
How long does it take to grow microgreens?
Penn State Extension notes that harvest typically comes about 8–12 days after sowing, just after the first true leaves develop. Some crops are faster and some much slower. Typical ranges in a warm, well-lit grow room:
| Crop | Days to harvest (typical) | Pre-soak? | Notes |
|---|---|---|---|
| Radish | 7–10 | No | Fast, spicy, colorful varieties; reliable starter crop |
| Broccoli, kale, kohlrabi | 8–12 | No | Steady demand; mild flavor |
| Mustard, arugula | 8–12 | No | Small, mucilaginous seed for some types; sow evenly |
| Pea shoots | 10–14 | Yes | Heavy yield per tray; popular with chefs |
| Sunflower | 8–12 | Yes | Hulls need removing; heavy and crunchy |
| Amaranth, beet | 12–18 | Beet often | Vivid color, lower yield, higher price |
| Basil, cilantro | 16–25 | No | Slow; price accordingly |
Temperature, light intensity and variety all shift these numbers, so record your own days to harvest for each crop.
What are the best microgreens to grow for profit?
The best microgreens to grow for profit combine short cycles, high yield per tray and steady demand. For most new farms that means a core of pea shoots, sunflower, radish and broccoli, plus a mild salad mix and a spicy mix. Slow or low-yield crops such as basil, cilantro and amaranth can be very profitable if chefs want them, but price them per gram to reflect the extra rack time. Avoid growing a long list of varieties at the start; it complicates sowing schedules and raises waste.
What equipment do you need for a microgreen farm?
The core microgreen growing supplies are simple, but commercial volume needs equipment that is durable, cleanable and consistent.
| Equipment | Purpose | What to look for |
|---|---|---|
| Microgreen trays | Hold medium and crop | Shallow trays for microgreens, often the common 10 × 20 inch (about 25 × 50 cm) size; microgreen trays with holes nested in solid trays for bottom watering; food-safe plastic or stainless steel microgreen trays for easier sanitation |
| Growing medium | Supports roots and holds moisture | Fine peat or coir-based mixes, or fiber mats for hydroponic microgreens; low in debris |
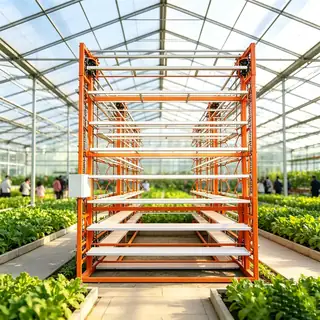
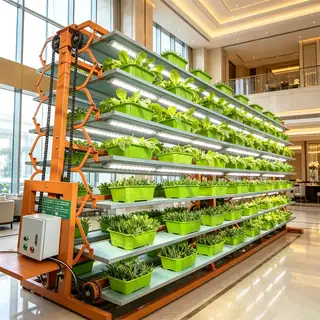
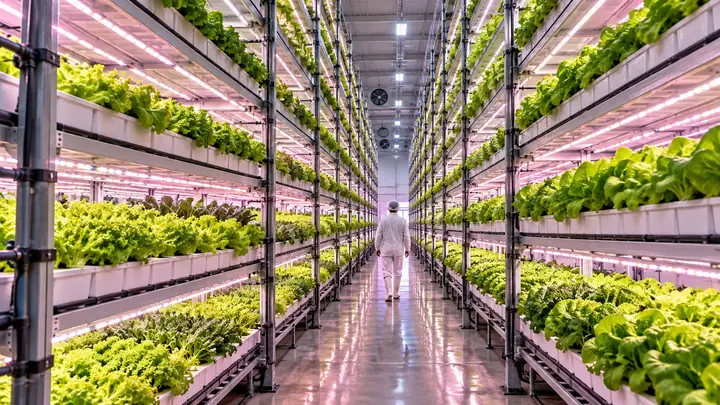
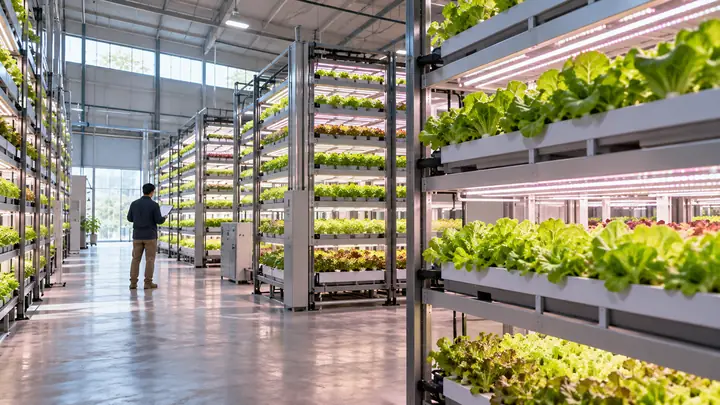
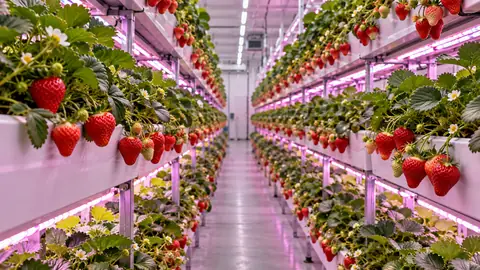
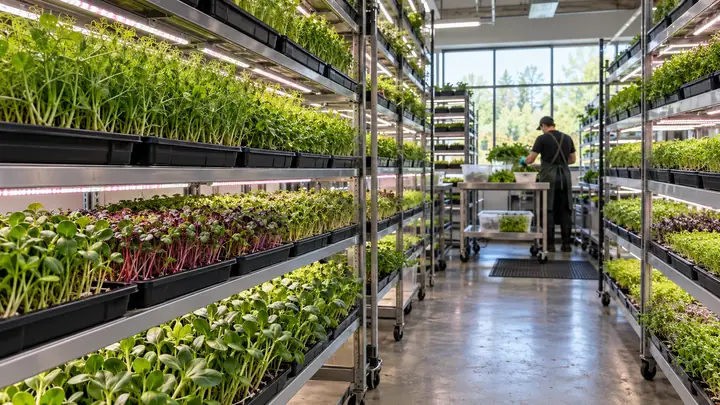
| Microgreen racks | Stack trays vertically | 4–6 tiers, corrosion-resistant frame, tier spacing for lights and airflow; mobile racks save floor space |
| LED grow lights | Provide light after germination | Even coverage across each shelf; timers (a 16-hour photoperiod is a common starting point) |
| Watering system | Keep medium moist without wetting leaves | Bottom watering by hand, or flood-and-drain trays for larger farms |
| Climate control | Hold temperature and humidity | Circulation fans on every tier, dehumidification, heating or cooling for your climate |
| Seed and storage | Raw material | Untreated seed sold for sprouting or microgreens, ideally tested for pathogens; cool, dry storage |
| Harvest and packing | Cut, weigh, pack and chill | Sharp knives or harvesters, scales, clamshells or bags, a dedicated clean packing area and refrigeration |
For a complete overview of racks, lights and controls in controlled-environment farms, see our vertical farming equipment list.
Which growing medium is best for microgreens?
Soil-based growers usually use a fine, screened peat or coir mix with some perlite. It is forgiving, holds water well and suits large-seeded crops such as peas and sunflower. Hydroponic growers use thin mats of coir, hemp or other fibers, which are cleaner, lighter and produce no loose soil in the packing room, but they dry out faster and need closer watering. Our hydroponic growing media guide compares the options in more detail.
How do hydroponic microgreens systems work?
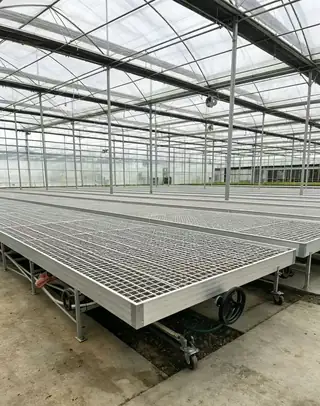
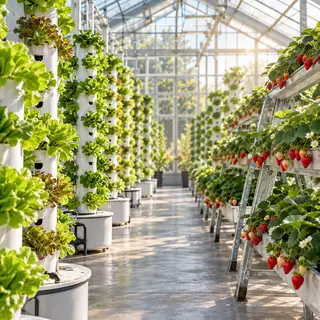
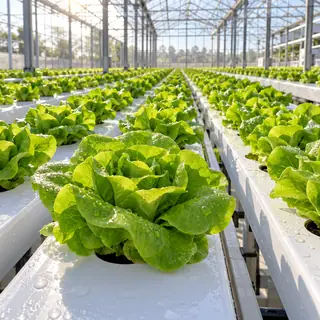
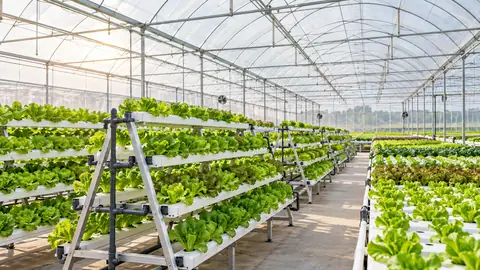
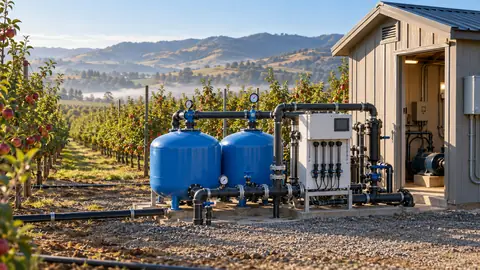
Hydroponic microgreens grow on a fiber mat that sits in a tray of water or very dilute nutrient solution. Because the seedlings live mainly on the seed's own reserves, many growers use plain water and add only a light nutrient feed for slower crops. The main hydroponic system for microgreens on a commercial scale is flood and drain: trays sit on benches or shelves that flood briefly from a tank, then drain, wetting the mats from below without splashing the leaves. Tidal trays such as our ABS tidal tray for nursery seedbeds work on this principle; see ebb and flow hydroponics and flood tables for how to size them.
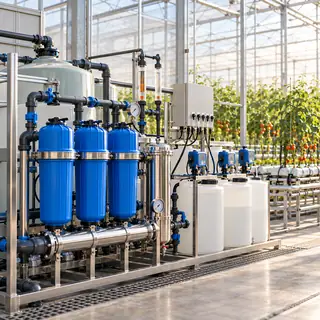
A microgreen hydroponic system keeps the packing room cleaner and is easier to automate, but water hygiene becomes critical: recirculated water must be filtered and kept clean, or a single disease problem can spread across every tray.
How do you grow microgreens commercially, step by step?
- Clean and sanitize trays and work surfaces before every batch.
- Soak large seed such as peas and sunflower for several hours if your process calls for it.
- Fill and level the medium, or lay the mat, and pre-moisten it.
- Sow evenly at a recorded density per tray for each crop. Uneven sowing is the most common cause of mold patches and uneven harvests.
- Germinate in the dark, often with trays stacked or covered with a weight for two to four days, to encourage strong roots and even stems.
- Move to light once seedlings have lifted the cover, and bottom water as needed. Keep air moving across every shelf.
- Harvest to order when the seed leaves are fully open, cutting above the medium with clean tools.
- Pack and chill quickly. Penn State Extension's example operation keeps finished product refrigerated at about 3 °C (38 °F) until delivery.
- Record everything: sowing date, density, harvest date, yield and any problems. These records are the basis of your production plan.
Fine white root hairs on radish and broccoli are often mistaken for mold. Real mold is usually grey or web-like, smells musty and spreads across the medium surface. Prevent it with clean seed, correct sowing density, good airflow and avoiding overwatering.
How do you build a microgreens business plan?
A microgreens business plan starts from sales, not from rack capacity. Estimate how many grams per week each customer will buy, then work back to trays and shelves. A simple capacity example:
- A rack with five tiers holding six trays each gives 30 tray spaces.
- With an average of about 10 days on the light rack, each space turns roughly 0.7 times per week, or about 21 trays per week from one rack.
- Yield per tray varies widely with crop and density; growers often see somewhere in the range of 150–400 g per standard tray, with pea shoots and sunflower at the high end.
Your plan should cover startup costs (shelving, lights, trays, initial seed and medium, packaging, any facility work and registration fees) and monthly operating costs (seed, medium, packaging, electricity, rent, labor, delivery and insurance). Penn State Extension advises projecting finances for at least three years, keeping enough cash for at least two months of operating expenses, and setting prices from your costs, competitor prices and the value you offer. Check your local health department's rules for selling fresh produce before your first sale.
How and where do you sell microgreens?
Where to sell microgreens depends on your volume and location. The common channels are:
- Restaurants and caterers: steady weekly orders, often harvested and delivered to a fixed schedule.
- Farmers' markets: good margins and direct feedback; plan inventory from previous weeks' sales plus a small buffer.
- Grocers and food co-ops: larger volumes, but they expect consistent packaging, labeling and supply.
- Subscriptions and home delivery: weekly boxes or bags, which make production planning easier.
Penn State Extension suggests that no single client should account for more than about 30% of revenue, so losing one account does not sink the business.
Should you start with a microgreen growing kit?
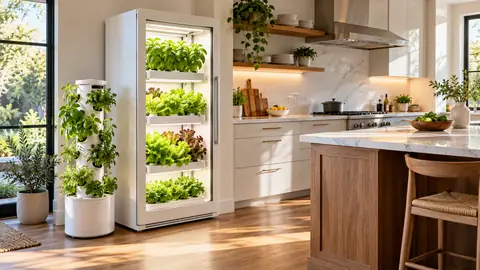
An indoor microgreens growing kit, usually a few trays, a small bag of medium, seed and sometimes a light, is a cheap way to learn germination, blackout timing and harvest stage before spending on racks. It is not a commercial microgreens growing system. Kits rarely give you the tray consistency, light uniformity, airflow and sanitation that repeat orders depend on, and their trays are often too thin to survive daily washing.
A practical path for a new microgreen farm looks like this:
- Trial stage: one or two kits or a single shelf to test crops, densities and days to harvest.
- Pilot stage: one or two full racks with commercial trays, LED fixtures, fans and a timer, supplying a handful of paying customers.
- Production stage: several racks or mobile shelving, flood-and-drain watering, environmental monitoring and a dedicated packing area.
When comparing microgreen farming equipment at the pilot and production stages, the cost drivers are rack material and tier count, LED fixture quality and coverage, the watering method (hand, flood-and-drain or automated), climate control for your local conditions, and the number of trays you need to keep in rotation, including spares while others are being cleaned. Buy for cleanability and consistency first; a cheap tray that warps or cracks costs more in lost crop than it saves.
How do you scale a microgreens farm?
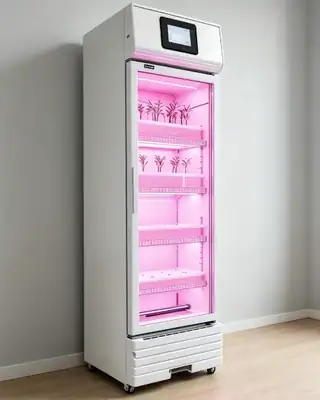
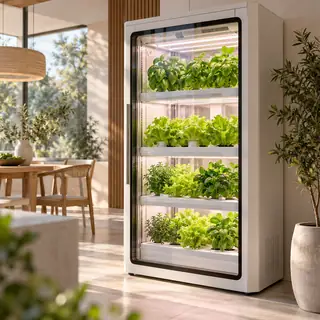
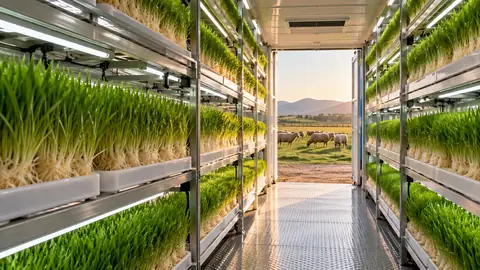
Most farms start with a few wire shelves and LED strips, then move to purpose-built microgreen growing racks once demand is proven. Mobile racks such as our mobile vertical grow racks with grow trays or movable multi-layer indoor grow shelves roll together to remove fixed aisles and fit more trays per square meter. Smaller operations, test kitchens and seed trials can use an enclosed environment-controlled hydroponic seedling cabinet.
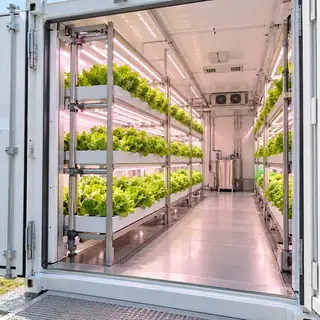
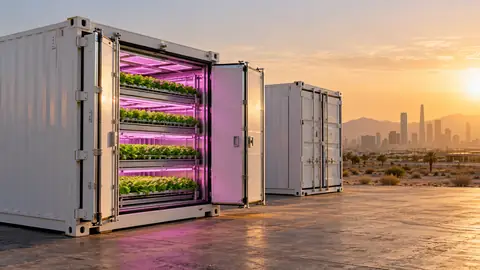
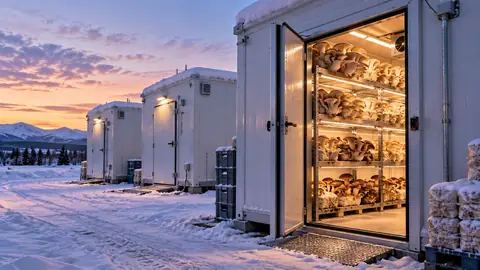
Where no suitable building exists, a container can be fitted out as a complete microgreen farm; see our shipping container farm guide and how to start a vertical farm for site, power and planning checklists. Mars Vertical Farm manufactures racks, tidal trays and climate-controlled growing systems with OEM/ODM options; see the vertical hydroponic towers and racks range, or tell us your target weekly output and room size and we will suggest a rack layout and quotation.