

Short answer
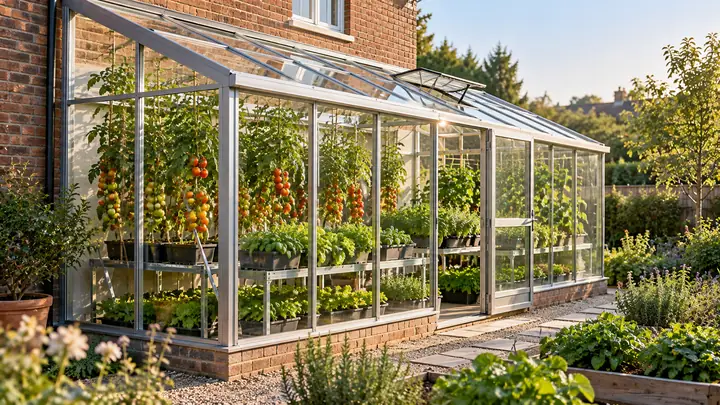
A lean-to greenhouse is a half greenhouse built against an existing wall, with a single sloping roof running down to a lower front wall. It costs less than a freestanding greenhouse, benefits from heat stored in the wall and is close to water and power. It works best facing south, with roof vents, shading and careful flashing where it meets the house.
What is a lean-to greenhouse?
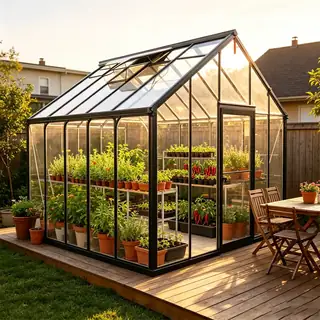
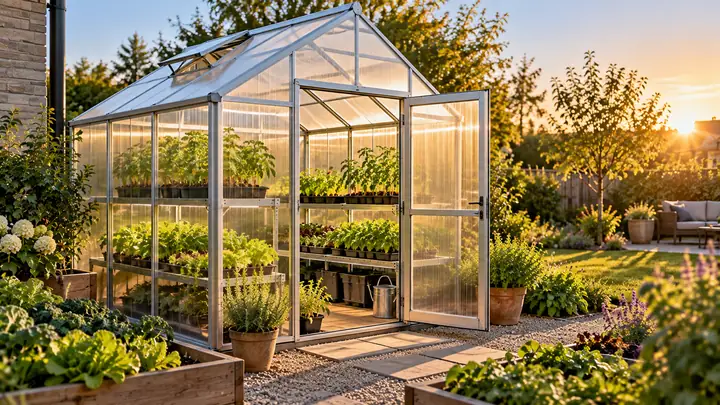
A lean-to greenhouse is a half greenhouse built against an existing wall, usually of a house, garage or garden wall, with a single sloping roof that runs down from the wall to a lower front wall. Because one long side is a solid wall, it needs less frame and glazing than a freestanding greenhouse, gains heat stored in that wall, and is easy to reach with water and power.
The same idea, scaled up or made more comfortable, becomes a greenhouse attached to a house, a solarium or a sunroom. This guide covers lean-to greenhouse design, materials, orientation, the special issues of attaching a greenhouse to a home, and how to build or buy a lean-to greenhouse kit.
How does a lean-to compare with other attached greenhouses?
| Type | Structure | Typical size | Strengths | Limitations |
|---|---|---|---|---|
| Greenhouse window (window box) | Glazed box projecting from a window opening | Under 1 m deep | Cheap, herbs and small plants, no foundation | Very little growing space, overheats easily |
| Small lean-to greenhouse | Single slope roof on a wall, narrow footprint | About 1–2 m deep | Fits patios and side passages, low cost | Limited headroom and air volume |
| Large lean-to greenhouse | Single slope, walk-in with benches both sides | About 2.5–4 m deep | Good working space, shares house heat | Needs foundations and often a permit |
| Attached even-span | Full gable greenhouse joined at one end to the house | Varies | More light and headroom than a lean-to | More complex junction with the house |
| Freestanding greenhouse | Independent structure | Any | Best light all round, easiest to ventilate | No shared heat, needs services run to it |
If you are still deciding between attached and freestanding designs, our small greenhouses guide and greenhouse kit buying guide cover the alternatives.
What are the pros and cons of a lean to greenhouse?
Advantages
- Lower material cost: the existing wall replaces one side of the structure.
- Heat storage: a masonry wall absorbs heat during the day and releases it at night, softening temperature swings.
- Easy services: water, power and sometimes household heat are close by.
- Convenience: plants are a few steps from the kitchen, which matters for daily watering and harvesting.
Disadvantages
- Light from one side only: plants lean toward the glazing, and a poorly oriented wall gives too little light.
- Overheating: a sloped glazed roof facing the sun gains heat quickly, and the small air volume heats up fast.
- Moisture next to the house: humidity can damage the house wall or find its way indoors without good detailing.
- Height limits: roof pitch is limited by the height available on the wall, under eaves, windows and gutters.
How should a lean-to greenhouse be designed?
Orientation
For year-round growing in the northern hemisphere, the glazed side should face south, or as close to south as the house allows. Energy guidance on sunspaces notes that facing up to about 30 degrees east or west of due south still captures roughly 90% of the maximum solar potential. East-facing lean-tos get gentle morning sun and suit propagation; west-facing ones get hot afternoons; north-facing walls suit only shade plants and ferns.
Roof pitch and height
The roof needs enough slope to shed rain and snow and to let condensation run down rather than drip, typically at least 20–25 degrees for glass, though manufacturers specify minimums for each system. A higher back wall allows a steeper pitch and better headroom, so check the clear height under eaves, windows and gutters before choosing a model.
Glazing
Tempered glass gives a clear view and long life, which suits a glass lean to greenhouse that is also a visual feature of the house. Twin wall or double wall polycarbonate insulates better, is lighter and safer overhead, and diffuses light. Many attached greenhouses combine glass walls with a polycarbonate or insulated glass roof. See polycarbonate vs glass greenhouse panels for figures.
Ventilation and shading
Plan roof vents at the highest point near the house wall and low vents or a door at the front, so hot air rises out and cool air enters. Automatic vent openers are worth having on any lean-to that is not checked several times a day. Add internal shading or external shade cloth for summer. Our greenhouse ventilation and heating guide covers sizing.
What should you know about a greenhouse attached to a house?
A greenhouse attached to a home is part greenhouse and part building addition, so a few points need extra care:
- Flashing and drainage: the wall plate must be fixed to structural masonry or framing and flashed so rain cannot enter behind it. A gutter at the low front edge stops water pooling against the foundation.
- Moisture control: keep a door between the greenhouse and living space, and ventilate well. Plants release large amounts of water vapor, which can cause condensation and mold indoors.
- Heat sharing: on sunny winter days, warm air can be vented into the house; at night, close the connection so the house is not cooled.
- Codes and permits: larger attached structures often need a permit, foundations and design loads. Check local rules.
- Pests and chemicals: avoid sprays that are not suitable for use next to living spaces, and screen vents against insects.
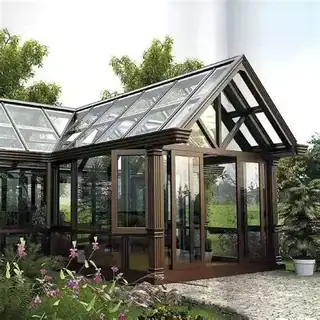
A 4 season greenhouse attached to a house needs the same features as a four season sunroom: thermally broken frames, insulated glazing and a reliable heating plan. At that point it often makes sense to look at a combined sunroom greenhouse; see our sunroom kit guide.
What can you grow in a lean-to greenhouse?
What grows well depends mostly on orientation and whether the structure is heated:
- South-facing, unheated: tomatoes, peppers, cucumbers and aubergines in summer; salad greens, spinach and herbs from autumn to spring in mild climates.
- South-facing, frost-free heated: citrus, overwintering tender perennials, early seedlings for the garden or market, and year-round herbs.
- East-facing: seed starting, cuttings and leafy crops that dislike afternoon heat.
- West-facing: heat-loving crops, provided summer shading and venting are strong.
- North-facing: ferns, orchids that prefer low light, and overwintering of dormant plants.
Use tiered benches against the back wall so taller plants stand at the rear and lower crops get light at the front. A dark-painted masonry back wall, or water barrels along it, adds thermal mass that helps hold night temperatures. In winter, keep plants slightly away from the glazing to avoid cold damage on frosty nights, and water in the morning so leaves dry before evening.
Are greenhouse windows a good alternative?
A greenhouse window, also called a window greenhouse insert or greenhouse window box, replaces a standard window with a small glazed box that projects outward, often above a kitchen sink. Greenhouse window kits suit herbs, succulents and a few pots, and they brighten a room. They are not a substitute for a lean-to for growing food in quantity, and because of their small air volume they get very hot in direct sun. Look for insulated greenhouse window glass and opening side vents.
How do you build a lean to greenhouse?
- Assess the wall. Confirm it is structurally sound, straight and dry, and note windows, doors, vents, drains and eaves.
- Check orientation and shade. Watch the sun across the wall through the day and, if possible, through the seasons.
- Confirm permits and loads. Find out the local snow and wind loads and whether a permit is needed.
- Choose size and kit. Match depth, length and back-wall height to the wall and your growing plans.
- Build the base. Pour a level concrete strip footing or slab, or build a low masonry wall, with drainage inside.
- Fix the wall plate. Anchor the ledger to the house wall at the correct height, level, and flash it.
- Erect the frame. Assemble the front wall, end walls and rafters, checking for square as you go.
- Glaze and seal. Install the roof first, then walls, vents and door; seal the junction with the house.
- Fit out. Add benches, drip or hand irrigation, shading, vent openers and, if needed, a heater on a thermostat.
For general construction steps that also apply to freestanding houses, see how to build a greenhouse.
What should you look for in a lean to greenhouse kit?
- Frame: powder-coated aluminum for low maintenance; heavier profiles or steel reinforcement for a heavy duty lean to greenhouse in snow or wind.
- Glazing: tempered glass or 4–10 mm twin wall polycarbonate, with the thickness stated.
- Design loads: stated snow and wind ratings.
- Vents and doors: roof vents included, with options for automatic openers and sliding or hinged doors.
- Wall connection: a proper wall plate and flashing detail, not just brackets.
- Drawings and spare parts: clear assembly drawings and available replacement glazing.
Some gardeners build a lean to greenhouse from old windows. It can work for a small, low-cost structure, but old windows are heavy, may contain non-safety glass, and are hard to seal. Never use them overhead without checking the glass type.
Mars Vertical Farm makes aluminum glazed structures that suit attached use, such as the double-glazed aluminum sunroom greenhouse and the aluminum sunroom and conservatory, mainly for distributors and contractors. Browse the greenhouses and sunrooms range or send your wall dimensions and quantity for a quotation.